

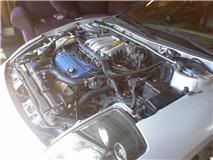
Built motor in prior to turbo:
On the dyno, NA output.
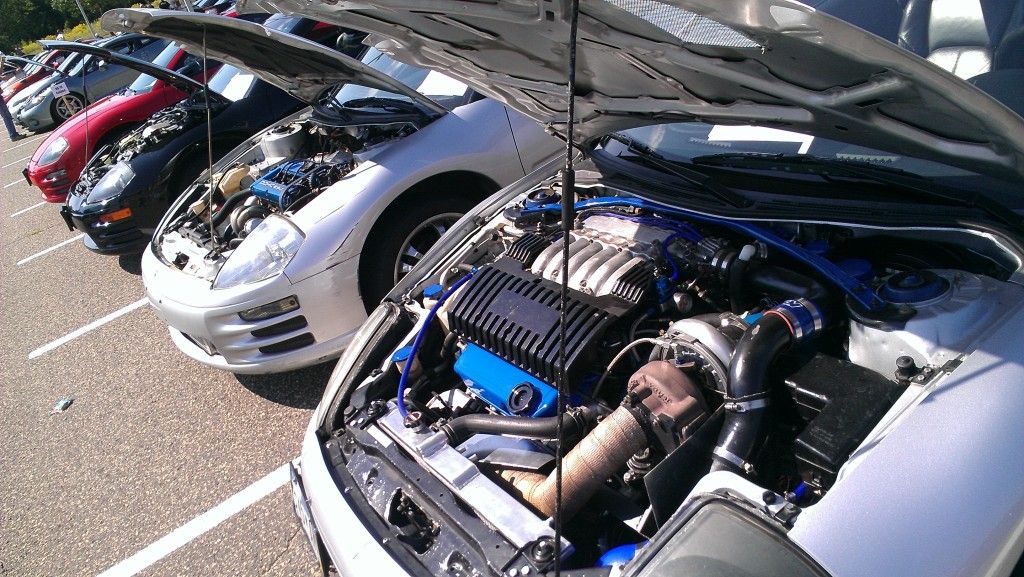
7 psi of boost
Spinning on the dyno at 15 pounds.
![Image]()
![Image]()
![Image]()
![Image]()
![Image]()
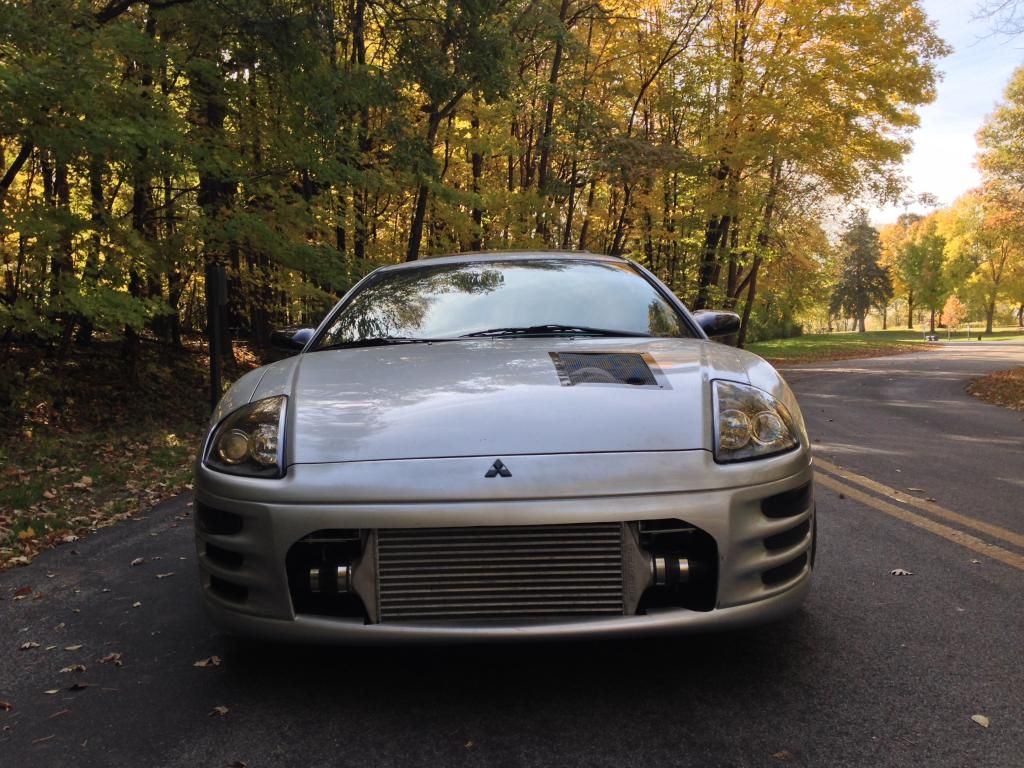
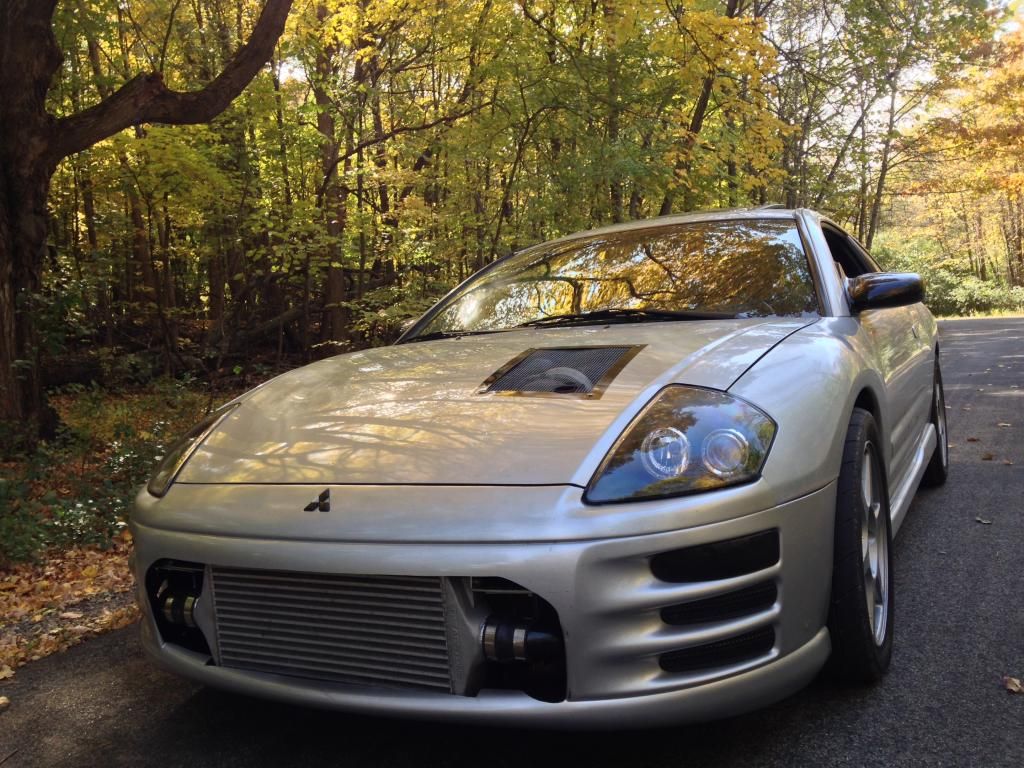
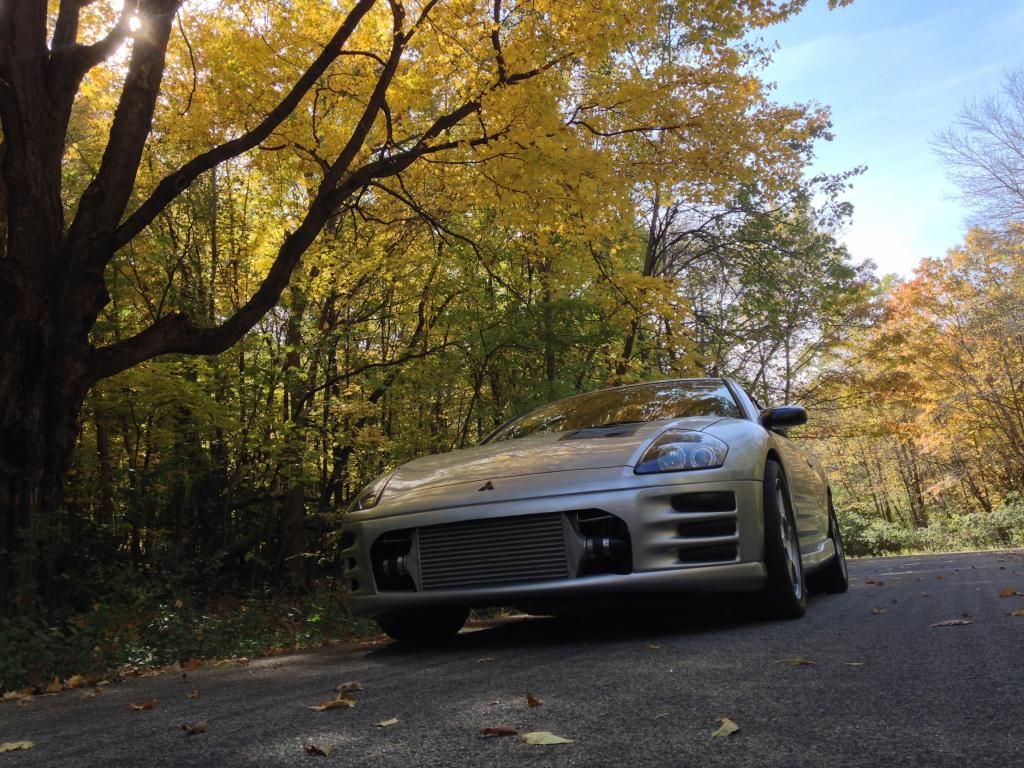
2014 Update It's been blown up and parted out twice and now rebuilt.
![Image]()
![Image]()
![Image]()
![Image]()
![Image]()
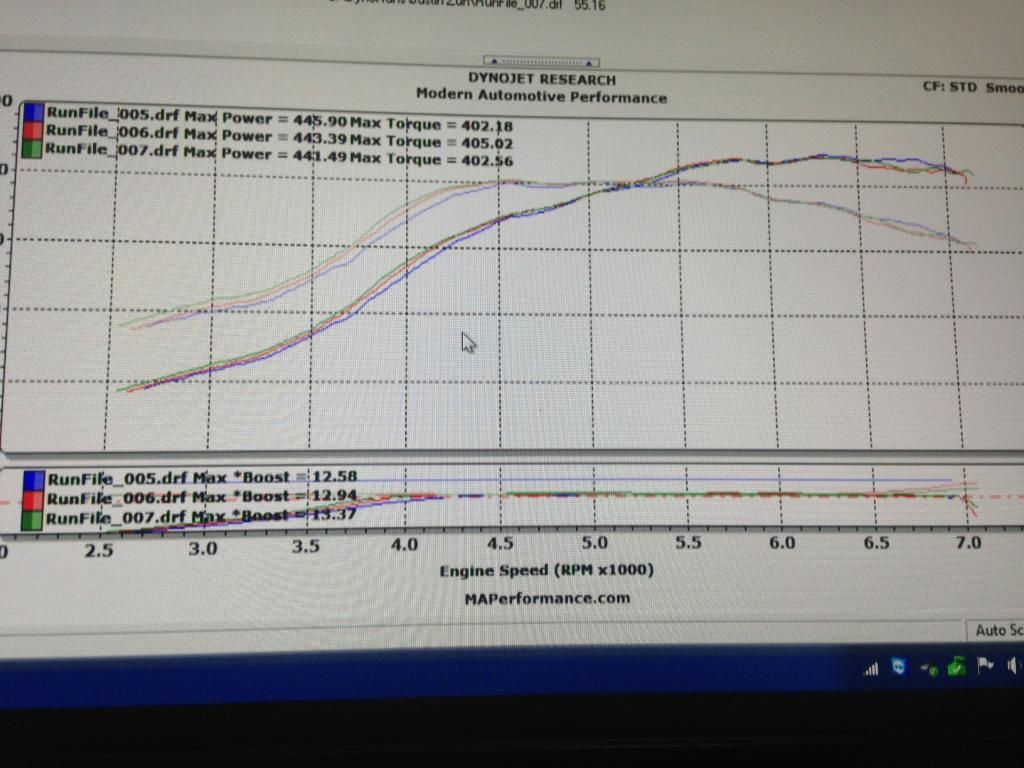
Latest Dyno
![Image]()
Latest mods list:
Wheels:
Evo 8 Enkei’s
Tires:
Front – Hankook Ventus RS3 255/40R17
Rear - Bridgestone Potenza Grid 245/45/R17
Brakes:
Brembo front calipers
Stoptech slotted rotors
Stoptech pads
AEM oversize rear disc kit
Drivetrain:
Quaife LSD
Clutch:
Comp stage 4 sprung 6 puck kit
New OEM throw out bearing
Shifting:
Megan SS
Prothane shifter bushings
Brass cable bushings from Speed Source
Custom SS clutch line
Mounts:
Ingalls ETD
ES Roll stops and K member bushings
Prothane Sides
Suspension:
100% urethane bushings
Bomz rear lower tie bar
D2's
Alignment kits
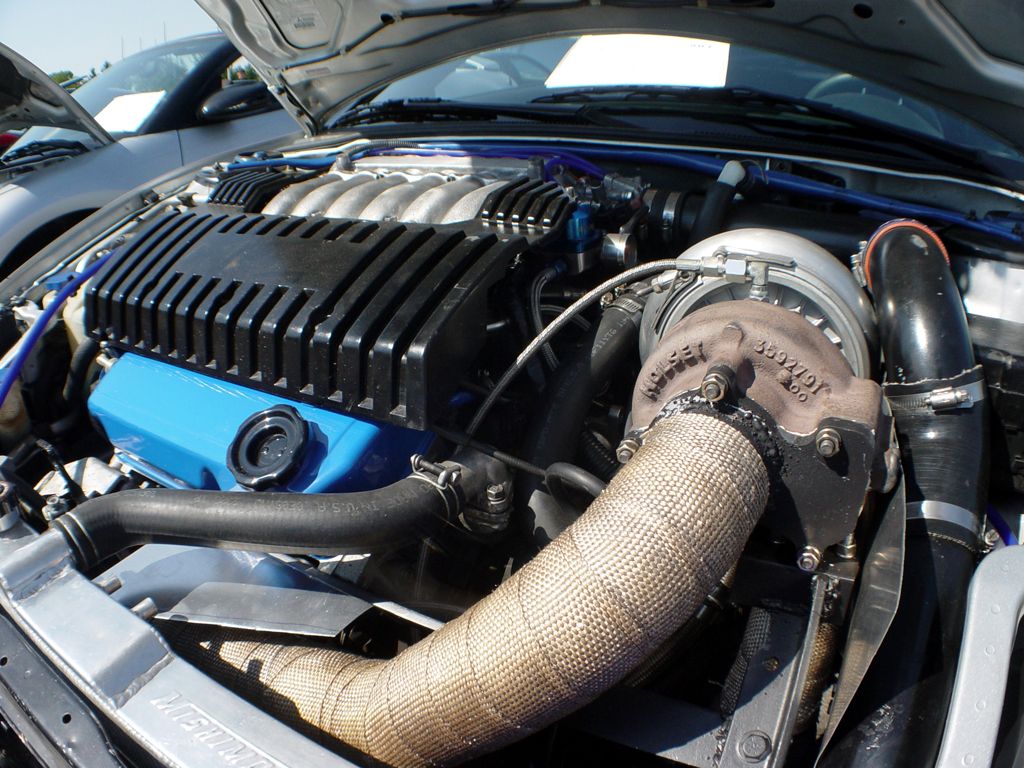
Boost setup:
Custom Holset 6764
Tial 38mm Wastegate
Custom hotside in and out
Mailbox resonator catback
TR10C intercooler
Custom coldside all around
Greddy RS
Top end:
Second stage ported and rebuilt throttle body
Deep PNP 6g75 UM
Fully ported LM with PCV delete
Heads:
SPE stage 2+ cams
SPE springs
Full port and polish
Shortblock: 3.6 liters
9:1 custom JE Forged pistons
Custom H beams
Fully balanced and blueprinted - ARP mains
Fuel:
AEM 320
Big bore rails – AN 6 fittings/loop
Fuel Lab mini FPR
Evo 560's
Ignition:
MSD 6A ignition box
MSD Blaster SS Coil
NGK wires
NGK BKR7E @ 0.028
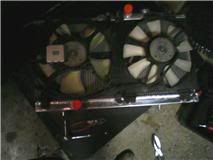
Cooling:
Mishimoto Aluminum radiator
FB Pushers run via stock control box
180* Gates Thermostat
PCV setup:
1/2" ID vents
Catch can VTA
The story as it began:
I've had enough people asking me to make a thread and since the mods like to keep things specific I guess I'll round everything up here. I'm not huge into the whole "oh boy look at my shit" stuff but for those into performance and the knitty gritty on this platform, maybe you'll find something useful or at least interesting.
History:
Bought my 3g back on December 19th, 2008 for 6k flat after taxes and fees. Had 83k on it, but it was in rough shape. Needed brakes and tires, eventually a harmonic balancer and belts, both window regulators, a complete rear suspension rebuild, a new clutch, and the usual maintainence stuff. I did the clutch in december which rounded out the last of all these repairs and have enjoyed driving a reliable, well running car for until last wednesday, well almost.
Now:
For those of you who have stuck your head into the performance sections this forum you've probably seen glimpses of what I've been up to. I've done a fair amount of exploration but all of it has been oriented towards a turbo build on a 6g74. Not just any turbo, and not just any 6g74. :naughty: Well, now the time has come. I've got all the parts and the shortblock is due in tomorrow or Friday. I tore into the car last Wednesday, I'm still very busy but its been the focus of daily work so I'm getting places with it. Here's a few shitty pics of what's going on.
I'd also like to mention I'm breaking the motor in NA which is why the turbo stuff isn't relevant just yet.
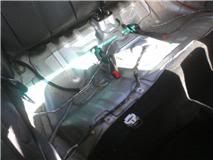
First thing I decided to do was strip my interior. Its really easy.
![Image]()
Actually I just pulled the seat cushion to put in my Walbro 255, the hatch trim is out because the PO cracked it when he deleted the rear wiper and it rattled enough to end its presence in my car. The install is very simple, just a serious pain in the ass. Since my car is of Iowa origin, the area under the seat was fully of dust from a gravel road which essentially siezed the black ring onto the assembly, as well as 12 years of age. Luckily I got the stinker off and swapped the pumps out. For anyone doing this install a belt sander works 1000x easier then a Dremel for shortening the stock pickup sock. Once back together I let it idle for a couple minutes to make sure it sealed properly, it runs noticeably richer without a real fpr and the stock tune.
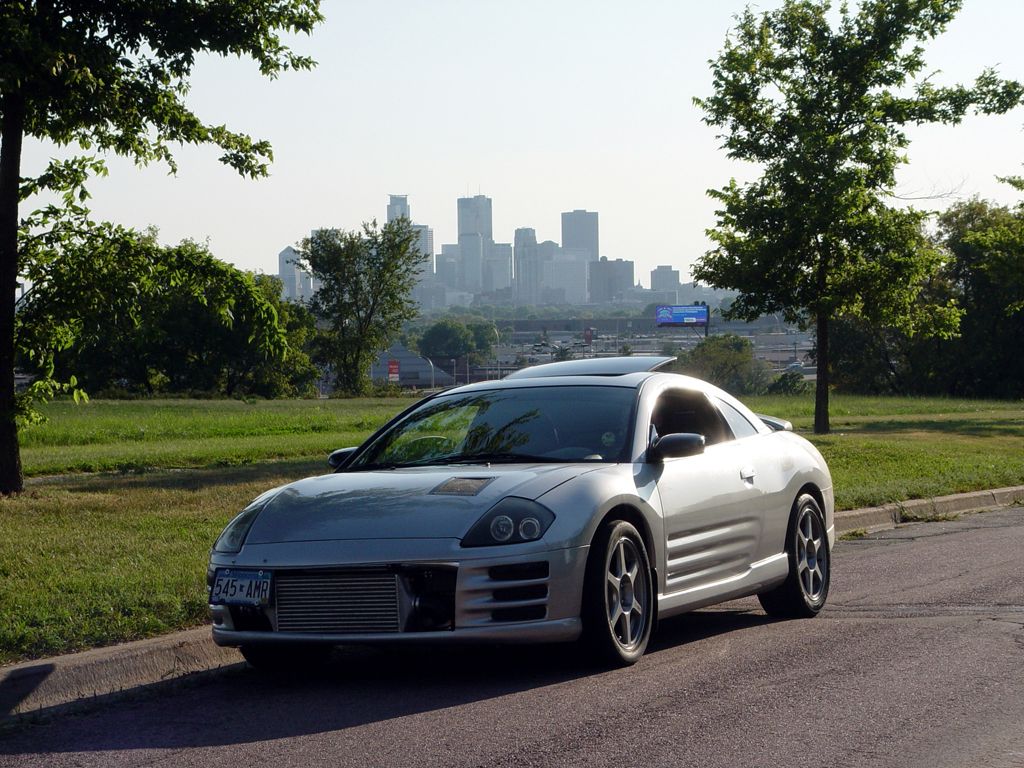
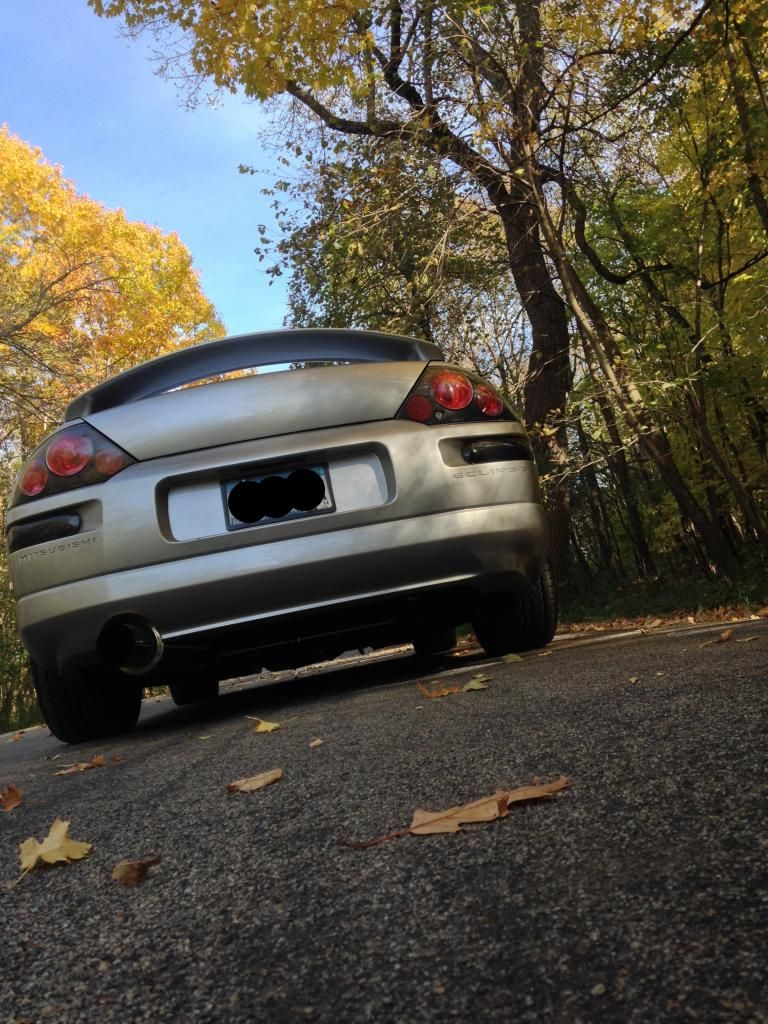
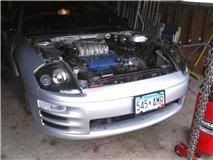
Parked it at last. Been working towards this day for 2 years.
![Image]()
First thing I pulled off was the muffler. Stupid thing cracked off the pipe 2 weeks before breakdown day. Stock exhaust minus this and an extra resonator, sounded awesome.
![Image]()
Started the tear down.
![Image]()
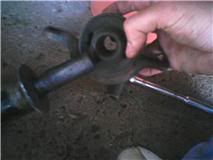
Hubs out
![Image]()
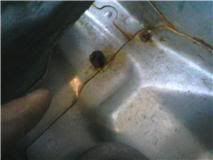
Keep on pullin stuff
![Image]()
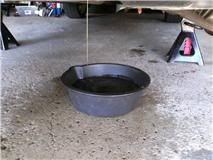
Drained all the fluids. This being the trans. Fluid was still very clean from the clutch job I did 3k ago.
![Image]()
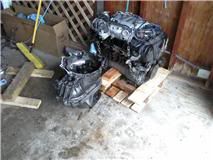
Ready to pull engine and trans
![Image]()
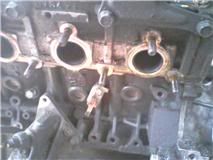
Stock motor came out easily. I pulled the exhaust manifolds off hoping to find something worth porting and was direly disappointed. The 00 Fed spec manifolds aren't actually cast, they're two halves and two flanges all welded together. There isn't enough metail to actually make them flow worth shit so I have to figure something else out. Might just use the RPW shorties I have. Anywho, the front of my motor has been doused with oil. It saturated even the exhaust gaskets. Can't figure out how it bled so much, the oil cap was always tight and I couldn't believe the valve covers would let this much go with a good clean PCV valve.
![Image]()
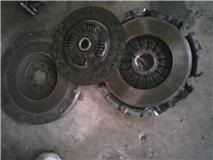
Exedy stage 1 clutch, put it in 3k miles ago with a resurfaced stock flywheel. Broke it in properly, it grabbed wonderfully. The machining on the flywheel is still fully visible and feelable and the disc is very healthy.
![Image]()
Out and shoved in the corner until future attention.
![Image]()
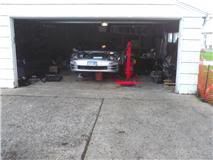
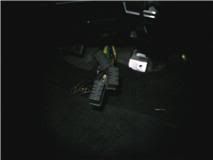
Shot of the whole situation.
![Image]()
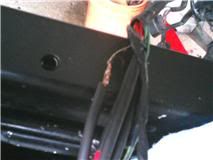
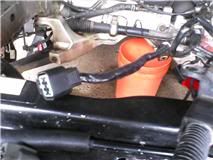
One of the more irritating tasks... soldering in the IAC pigtail. The one off the 74 harness uses much thicker gauge wire and my heat sinc kept biting through the insulation, not to mention there isn't any good work surface in there. Got her done nicely though, shrink wrapped then wrapped with 3 layers of tape.
![Image]()
![Image]()
The next attention was given to the 6g75 upper manifold. Specific details on it can be found here: http://www.club3g.com/forum/3g-eclipse-gt-gts-specific/142719-75-galant-upper-manifold-swap-thread.html
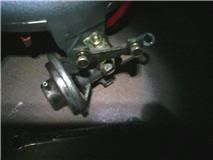
The final task was fitting the throttle cable to the manifold. I had a bracket premade but of course the adjustment still wasn't enough. I actually simplified it a lot in the end. Just a basic SS L bracket and the 6g74 manifold tb cable bracket bolted onto it. Nice and sturdy too.
![Image]()
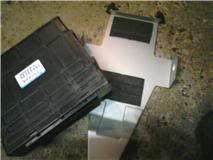
Next on the list was/is the ECU. Since I have an 00, I'm fucked for tuning. I have an Emanage ultimate, but I want to give the stock ECU's a run for their money with big maps first. I have an 03 GTS Ecu and a 1.3 cable, already tested them and they work together fine. I pulled the 00 to send out to a friend (Thanks Teyler/Black_Out!) to read for me since he has a 2.0 cable. Once I have that ROM I'm sending it to Acamus for a custom big maps ROM, a knock off of Damian's/02meclipse. Its a late 02 ROM so its the 3 pulse distributor reluctor (Thanks charles and greg) and the 3 bar Evo MDP sensor. Anywho.
![Image]()
![Image]()
Anyone who attempts this should be weary of the main harness. You can tear it when squeezing the ECU out of there and I also warn the bracket its on is sharper then it looks as I got a nice red surprise when thing got tight.
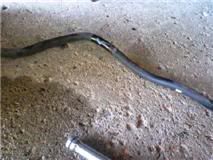
My buddy Connor is my helper on this and he was off doing his own thing for awhile so I took an hour to get started on some of the tedious suspension stuff. Moog endlinks and prothane bushings for the control arms and sway bar is the plan (Front, rear is another story I'll cover later). I cut the links in half then popped them with a 2' break bar just to see how easy it was. The link flexes plenty before it pops but neither are good, they are junk. Come out in about 15 pieces too.
![Image]()
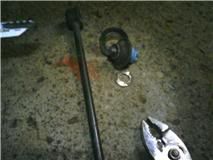
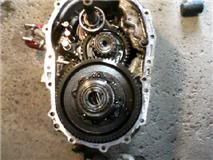
Today, May 25, 2011. Things get real. The engine was out last Thursday but between Rugby and a weekend up north and Connors starter blowing progress slowed. I was pissed, and ready to kick some ass. Went to my shop to kick 'em in the pants to getting my shortblock done. Supposedly it'll be done tomorrow, if not, Friday. He said he'd give me the final price by the end of the day but he never called so I'm going to have to wait til Friday to pick it up anyway. That's fine because I've got plenty to do. After that I went to mitsu and ordered the rollers and speedo gear for the Wavetrac. Between trips I managed this:
![Image]()
![Image]()
![Image]()
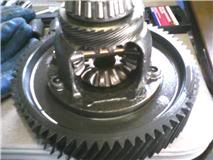
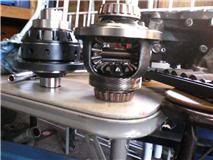
Stock pumpkin vs Wavetrac. The Wavetrac is a 12 lb tank. I now understand why people break these things so often (my stocker is officially up for sale). The sun gears are tiny, and worthless. The pin that holds the sun axle in also likes to fall out so I'm surprised people don't throw them more often. There's an awesome thread on the differential stuff here: http://www.club3g.com/forum/3g-eclipse-gt-gts-specific/147925-limited-slip-differential-install.html Thanks to everyone who is and will be helping me and contributing info to that.
Anywho, that's all I got for now. Plan for tomorrow is still a bit up the in air. I'll know better what's next when the engine is home but for tomorrow I'm thinking I'll do the control arm and sway bar bushings and install/grease the Moogs then start wiring up the gauges. The biggest thorn in my side right now is the exhaust. Since I'm going all custom I have to fab it up and get lots of costly materials. Furthermore the fucking o2 sensors are seized in tighter then I knew what to do about so I had to cut them off the car. Still have to get them off the exhaust so I'll have to nuke them with pb blaster and put a big bar and hope they pop. Otherwise its smooth sailing ahead. Differential bits come Monday so I'll zip that up then and hopefully begin assembling the 74. Friday I'm working on the car all day so I'll get as much done then as I can and hopefully get it running sometime late next week.
More pics and stories to come!
On the dyno, NA output.
7 psi of boost
Spinning on the dyno at 15 pounds.
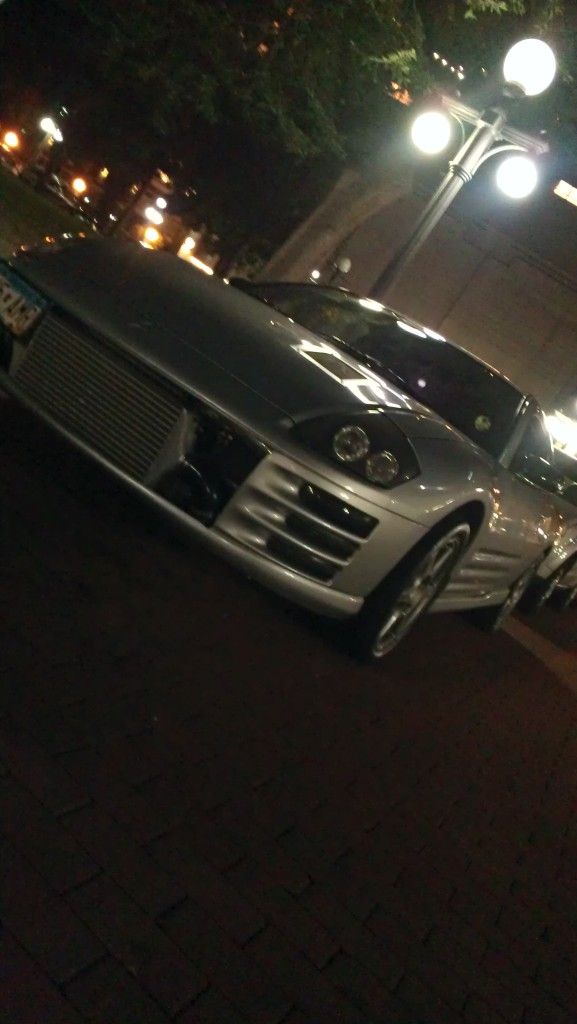
2014 Update It's been blown up and parted out twice and now rebuilt.
Latest Dyno
Latest mods list:
Wheels:
Evo 8 Enkei’s
Tires:
Front – Hankook Ventus RS3 255/40R17
Rear - Bridgestone Potenza Grid 245/45/R17
Brakes:
Brembo front calipers
Stoptech slotted rotors
Stoptech pads
AEM oversize rear disc kit
Drivetrain:
Quaife LSD
Clutch:
Comp stage 4 sprung 6 puck kit
New OEM throw out bearing
Shifting:
Megan SS
Prothane shifter bushings
Brass cable bushings from Speed Source
Custom SS clutch line
Mounts:
Ingalls ETD
ES Roll stops and K member bushings
Prothane Sides
Suspension:
100% urethane bushings
Bomz rear lower tie bar
D2's
Alignment kits
Boost setup:
Custom Holset 6764
Tial 38mm Wastegate
Custom hotside in and out
Mailbox resonator catback
TR10C intercooler
Custom coldside all around
Greddy RS
Top end:
Second stage ported and rebuilt throttle body
Deep PNP 6g75 UM
Fully ported LM with PCV delete
Heads:
SPE stage 2+ cams
SPE springs
Full port and polish
Shortblock: 3.6 liters
9:1 custom JE Forged pistons
Custom H beams
Fully balanced and blueprinted - ARP mains
Fuel:
AEM 320
Big bore rails – AN 6 fittings/loop
Fuel Lab mini FPR
Evo 560's
Ignition:
MSD 6A ignition box
MSD Blaster SS Coil
NGK wires
NGK BKR7E @ 0.028
Cooling:
Mishimoto Aluminum radiator
FB Pushers run via stock control box
180* Gates Thermostat
PCV setup:
1/2" ID vents
Catch can VTA
The story as it began:
I've had enough people asking me to make a thread and since the mods like to keep things specific I guess I'll round everything up here. I'm not huge into the whole "oh boy look at my shit" stuff but for those into performance and the knitty gritty on this platform, maybe you'll find something useful or at least interesting.
History:
Bought my 3g back on December 19th, 2008 for 6k flat after taxes and fees. Had 83k on it, but it was in rough shape. Needed brakes and tires, eventually a harmonic balancer and belts, both window regulators, a complete rear suspension rebuild, a new clutch, and the usual maintainence stuff. I did the clutch in december which rounded out the last of all these repairs and have enjoyed driving a reliable, well running car for until last wednesday, well almost.
Now:
For those of you who have stuck your head into the performance sections this forum you've probably seen glimpses of what I've been up to. I've done a fair amount of exploration but all of it has been oriented towards a turbo build on a 6g74. Not just any turbo, and not just any 6g74. :naughty: Well, now the time has come. I've got all the parts and the shortblock is due in tomorrow or Friday. I tore into the car last Wednesday, I'm still very busy but its been the focus of daily work so I'm getting places with it. Here's a few shitty pics of what's going on.
I'd also like to mention I'm breaking the motor in NA which is why the turbo stuff isn't relevant just yet.
First thing I decided to do was strip my interior. Its really easy.
Actually I just pulled the seat cushion to put in my Walbro 255, the hatch trim is out because the PO cracked it when he deleted the rear wiper and it rattled enough to end its presence in my car. The install is very simple, just a serious pain in the ass. Since my car is of Iowa origin, the area under the seat was fully of dust from a gravel road which essentially siezed the black ring onto the assembly, as well as 12 years of age. Luckily I got the stinker off and swapped the pumps out. For anyone doing this install a belt sander works 1000x easier then a Dremel for shortening the stock pickup sock. Once back together I let it idle for a couple minutes to make sure it sealed properly, it runs noticeably richer without a real fpr and the stock tune.
Parked it at last. Been working towards this day for 2 years.

First thing I pulled off was the muffler. Stupid thing cracked off the pipe 2 weeks before breakdown day. Stock exhaust minus this and an extra resonator, sounded awesome.

Started the tear down.
Hubs out

Keep on pullin stuff

Drained all the fluids. This being the trans. Fluid was still very clean from the clutch job I did 3k ago.
Ready to pull engine and trans
Stock motor came out easily. I pulled the exhaust manifolds off hoping to find something worth porting and was direly disappointed. The 00 Fed spec manifolds aren't actually cast, they're two halves and two flanges all welded together. There isn't enough metail to actually make them flow worth shit so I have to figure something else out. Might just use the RPW shorties I have. Anywho, the front of my motor has been doused with oil. It saturated even the exhaust gaskets. Can't figure out how it bled so much, the oil cap was always tight and I couldn't believe the valve covers would let this much go with a good clean PCV valve.
Exedy stage 1 clutch, put it in 3k miles ago with a resurfaced stock flywheel. Broke it in properly, it grabbed wonderfully. The machining on the flywheel is still fully visible and feelable and the disc is very healthy.
Out and shoved in the corner until future attention.
Shot of the whole situation.
One of the more irritating tasks... soldering in the IAC pigtail. The one off the 74 harness uses much thicker gauge wire and my heat sinc kept biting through the insulation, not to mention there isn't any good work surface in there. Got her done nicely though, shrink wrapped then wrapped with 3 layers of tape.
The next attention was given to the 6g75 upper manifold. Specific details on it can be found here: http://www.club3g.com/forum/3g-eclipse-gt-gts-specific/142719-75-galant-upper-manifold-swap-thread.html
The final task was fitting the throttle cable to the manifold. I had a bracket premade but of course the adjustment still wasn't enough. I actually simplified it a lot in the end. Just a basic SS L bracket and the 6g74 manifold tb cable bracket bolted onto it. Nice and sturdy too.
Next on the list was/is the ECU. Since I have an 00, I'm fucked for tuning. I have an Emanage ultimate, but I want to give the stock ECU's a run for their money with big maps first. I have an 03 GTS Ecu and a 1.3 cable, already tested them and they work together fine. I pulled the 00 to send out to a friend (Thanks Teyler/Black_Out!) to read for me since he has a 2.0 cable. Once I have that ROM I'm sending it to Acamus for a custom big maps ROM, a knock off of Damian's/02meclipse. Its a late 02 ROM so its the 3 pulse distributor reluctor (Thanks charles and greg) and the 3 bar Evo MDP sensor. Anywho.
Anyone who attempts this should be weary of the main harness. You can tear it when squeezing the ECU out of there and I also warn the bracket its on is sharper then it looks as I got a nice red surprise when thing got tight.
My buddy Connor is my helper on this and he was off doing his own thing for awhile so I took an hour to get started on some of the tedious suspension stuff. Moog endlinks and prothane bushings for the control arms and sway bar is the plan (Front, rear is another story I'll cover later). I cut the links in half then popped them with a 2' break bar just to see how easy it was. The link flexes plenty before it pops but neither are good, they are junk. Come out in about 15 pieces too.
Today, May 25, 2011. Things get real. The engine was out last Thursday but between Rugby and a weekend up north and Connors starter blowing progress slowed. I was pissed, and ready to kick some ass. Went to my shop to kick 'em in the pants to getting my shortblock done. Supposedly it'll be done tomorrow, if not, Friday. He said he'd give me the final price by the end of the day but he never called so I'm going to have to wait til Friday to pick it up anyway. That's fine because I've got plenty to do. After that I went to mitsu and ordered the rollers and speedo gear for the Wavetrac. Between trips I managed this:
Stock pumpkin vs Wavetrac. The Wavetrac is a 12 lb tank. I now understand why people break these things so often (my stocker is officially up for sale). The sun gears are tiny, and worthless. The pin that holds the sun axle in also likes to fall out so I'm surprised people don't throw them more often. There's an awesome thread on the differential stuff here: http://www.club3g.com/forum/3g-eclipse-gt-gts-specific/147925-limited-slip-differential-install.html Thanks to everyone who is and will be helping me and contributing info to that.
Anywho, that's all I got for now. Plan for tomorrow is still a bit up the in air. I'll know better what's next when the engine is home but for tomorrow I'm thinking I'll do the control arm and sway bar bushings and install/grease the Moogs then start wiring up the gauges. The biggest thorn in my side right now is the exhaust. Since I'm going all custom I have to fab it up and get lots of costly materials. Furthermore the fucking o2 sensors are seized in tighter then I knew what to do about so I had to cut them off the car. Still have to get them off the exhaust so I'll have to nuke them with pb blaster and put a big bar and hope they pop. Otherwise its smooth sailing ahead. Differential bits come Monday so I'll zip that up then and hopefully begin assembling the 74. Friday I'm working on the car all day so I'll get as much done then as I can and hopefully get it running sometime late next week.
More pics and stories to come!


")