Mitsubishi Eclipse 3G Club banner

Headlight cleaning gone bad

4.6K views 17 replies 5 participants last post by  aebcoat  
#1 · (Edited)
I followed the howto in the garage for cleaning the inside of headlights and all the silver paint inside the light chipped off. I only used water and dishsoap :noplease: so what could I have done wrong and does anyone know if its possible to open up the headlight so that I can attempt to repaint it? I only did it on the drivers side light, didnt want to ruin the passenger side too.

Any ideas why it happened and where to go from here besides buying a new light?
The howto is closed else I would post there, but does it possibly need a disclaimer?
 
#3 ·
Here are some pictures, Hard to get a good picture of them but hopefully this helps. Just to clarify this happened when I was just cleaning them, had not even began drying them so it was not heat related :( It started chipping in the grooves on the bottom so I immediately stopped and started rinsing it out but it messed the top portion up before I could finish

<img src="http://img547.imageshack.us/img547/1336/gedc0258i.jpg" alt="Image Hosted by ImageShack.us"/><br/>By <a target="_new" href="http://profile.imageshack.us/user/aebcoat">aebcoat</a> at 2010-11-20

<img src="http://img259.imageshack.us/img259/5131/gedc0260.jpg" alt="Image Hosted by ImageShack.us"/><br/>By <a target="_new" href="http://profile.imageshack.us/user/aebcoat">aebcoat</a> at 2010-11-20
 
#4 ·
it was probably defective from the get-go and cleaning just rinsed it off. I've seen chrome finish on plastics come off when its poorly bonded. odds are just wiping it with your hand could have done the same thing.
 
#5 ·
So is it possible to access that part of the fixture and repaint it? I would like to avoid buying a new light since I would have to get two so they would match, or one from a junkyard in about the same condition as my passenger side so it wouldn't look out of place. I am going to let this dry and put it back on the car, maybe it wont be too noticeable and I can take my time replacing it...
 
#6 ·
yes, you can take the lens off the front in the same way that you take tail lights apart. I prefer to use a hair dryer to heat the sealer instead of the oven. once apart my suggestion would be to disassemble the head light and paint the front chrome part matte black to reduce glare, I think the black housing OEM headlights look better.
 
#7 ·
Thanks, I was searching the forums and saw the "how to" for taking apart the sonars and painting them so I should be able to get mine open. Of course its getting dark so this will have to wait till I have a free day so I can get an early start lol.

I looked at it some more and only the front part chipped, the back part where the light is at is still perfect so I could get away with just stripping all the chrome paint off the front and painting it. Matte black would definitely be a different look, the car is red so it may look good. I probably should get all the stuff so I can really clean them and get the scratches out while I have them apart and just get it all over with at once. You said matte black would reduce glare, but will it hinder visibility noticeably?

Thanks for the help; This will be my first journey into changing the look of any car from stock lol
 
#9 ·
I should have mentioned this was on 03, I will look around at pictures of the 00-02 and see how I like the black. Bright red housings may look weird IMO. I am going to wetsand them when I have them off, but hopefully black or red would minimize the appearance of scratches on the lenses some, These are not the best set of lights by any means, but I am not wanting to go all out on a new set ATM.
 
#11 ·
Alright, I started the process and have the headlight apart so I can wetsand the scratches out and repaint the housing. I decided on black paint, One quick question though, the reflective part is dirty and has flakes of the paint that chipped off stuck on it, Is there anything special to keep in mind cleaning the reflective part?
 
#12 ·
yea, just blow it with air. the reflective coating can scratch easily so use only the gentlest of clothes or only use canned air.
 
#13 ·
Speaking from experience, its a pain in the butt to bake the lights open, strip the chrome paint, repaint, then reseal them properly. Its a whole lot of work to do for a stock headlight.

Before you start you're gonna need some prying tools, plastic paint, a bottle of meguiars plast-x, 5-6 clamps, a heat gun, and a roll of 1/4" butyl rubber sealant.

Start by baking the headlight open. 250 degrees for about 10 minutes should do the trick. Then remove the headlight lenses from the housings. Take your time and polish the inside of the headlight lenses while you have it off for that crystal clear brand new look. Then you are going to have to strip the chrome off, I typically use a brillo pad and some rubbing compound and a lot of elbow grease. Wipe it clean with some mineral spirits and then paint it.

When it comes time to reassemble you want to start by lining the groove with 1/4" butyl rubber, I typically use 3m window weld. Unlike most sealants (silicone, goop, etc) butyl rubber won't give off residue when exposed to heat or change colors when it is exposed to the weather. It is resealable, and provides superior waterproofing - thats why it is used by all oem headlight manufacturers. You're going to want to heat it up with a heat gun prior to trying to stick the two pieces together. Take your time doing this (15-20 mins) get it good and hot before you push the pieces together. Use clamps to ensure a tight fit.

Finish it off by polishing the outside to match the inside and enjoy your brand new headlight. Its gonna take take 2-3 days to do a pair depending on how many coats of paint you do, so you might as well take your time and do them the right way.

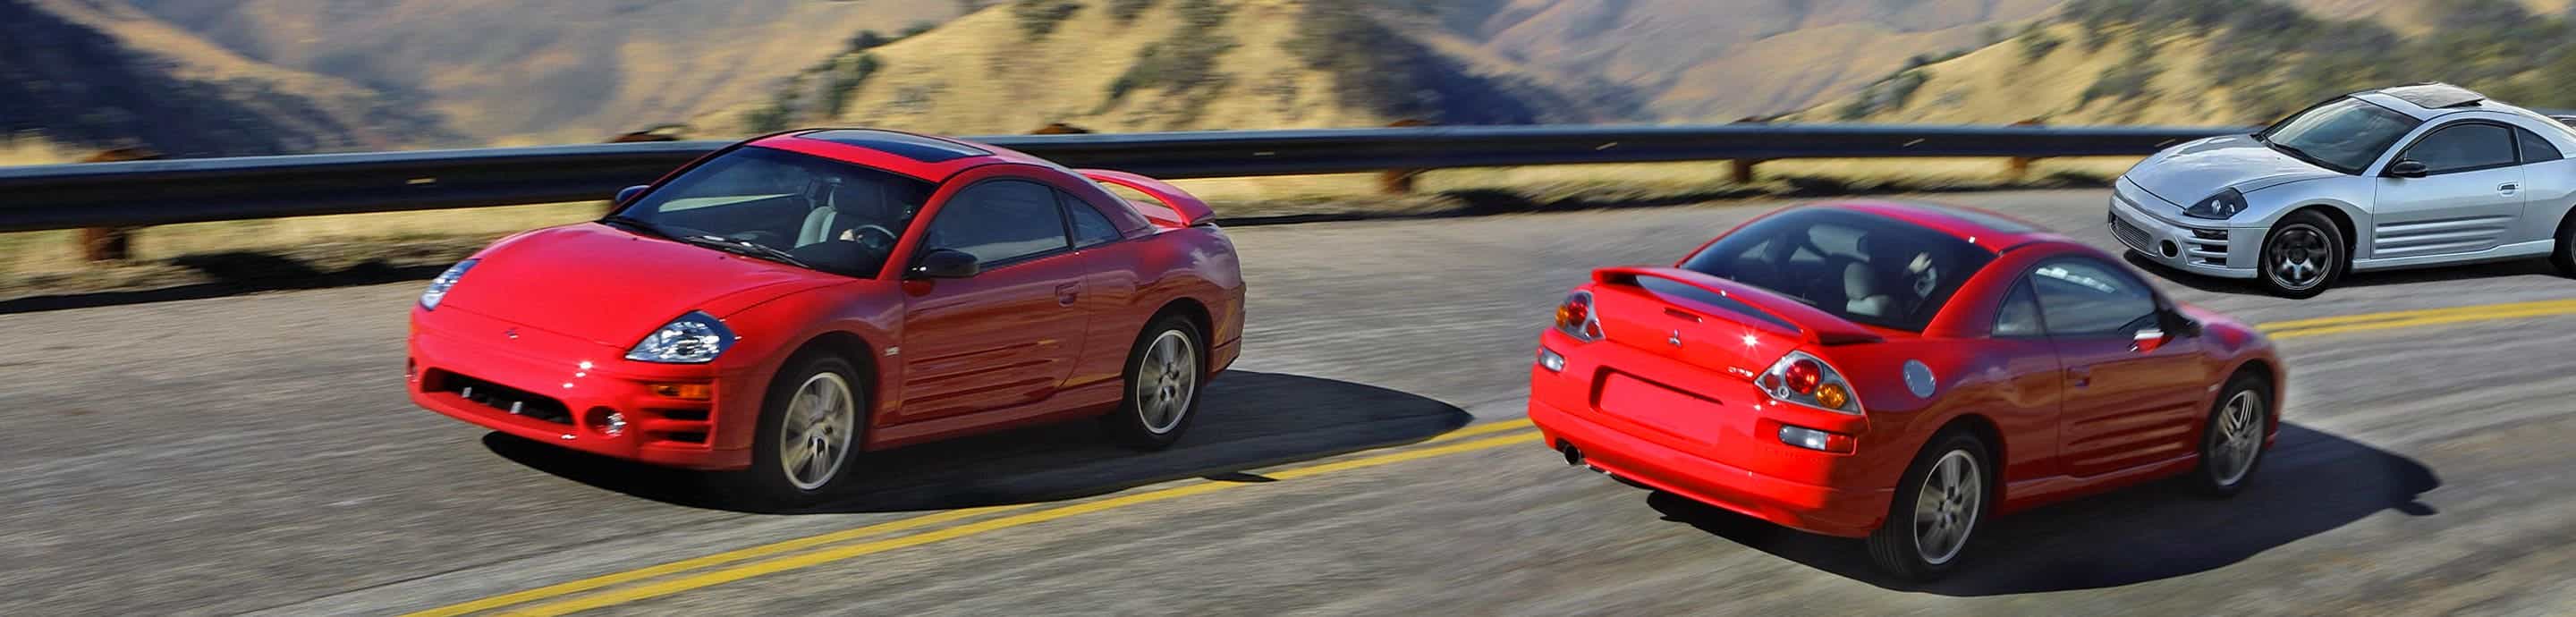
Or.... you could buy aftermarket lights and call it a day haha.
 
#15 ·
Well I am past the point of no return lol, I have 3 good coats of paint on the housing, going to let it dry overnight and hit it with 2 more fresh coats then call it done. The hardest part is cleaning the lens, I wetsanded with 1000 then 2000 grit and it is still very cloudy, Tried turtle polishing compound and plasticx and that really didnt help much. In hindsight I am thinking it may have been a bad idea to wetsand the inside of the lens, should have just polished it with plasticx if anything since it shouldnt have scratches on the inside to begin with. I am going to have to do more research on clearing the lens now. May have to borrow a buffer since I am doing it by hand now.

Removing the chrome paint wasn't to bad, just wetsanded at 2000 and it came off very easily. Should know by tomorrow weather or not I can salvage the lens, I really don't think I could have messed it up, just going to take alot of work to get it clear
 
#16 ·
uh you don't need to wet sand the inside, the inside just gets dirty/residue. its the outside that flakes and falls apart and needs wetsanding. you may just want to buy a new set now.
 
#17 ·
Thankfully I only did the drivers side first, After some elbow grease and a buffer I was able to clean up my lapse in judgement of sanding the inside and the haze is very much reduced now, Not sure how much good the wetsanding did though, the surface is smooth and clear but I can still see all the little scratches that were there before, but its not a big deal since all the discoloration is gone and it still looks better then it did originally. Plus it is a daily driver and my only car so It does not have to be showroom appearance. I am just glad the housing is a nice smooth black which was my original problem to start with. I put some silicon on the it and reheated it to soften the original and snapped it all back together.

Thanks everyone for the help and ideas, I just have to do the other side now, but I learned alot so I think it will go much smoother. I will try and post some pictures after its all back together
 
#18 ·
In case anyone was following this and wanted to see the results here you go. This is just the drivers side that I messed up cleaning, then when wetsanding the inside. Still cleaned up good and looks much better then it ever has since I bought the car. I did the passengers side the same way and it is a little clearer then the drivers, but even after sanding and polishing they are still scratched up, oh well I am still happy with the results. Getting them back together was not real tough, just reheated the existing glue and used some more black silicon in a few key spots. I have not noticed any condensation on the inside of either light in the few weeks since I finished so I guess they are sealed enough.

Image

Image