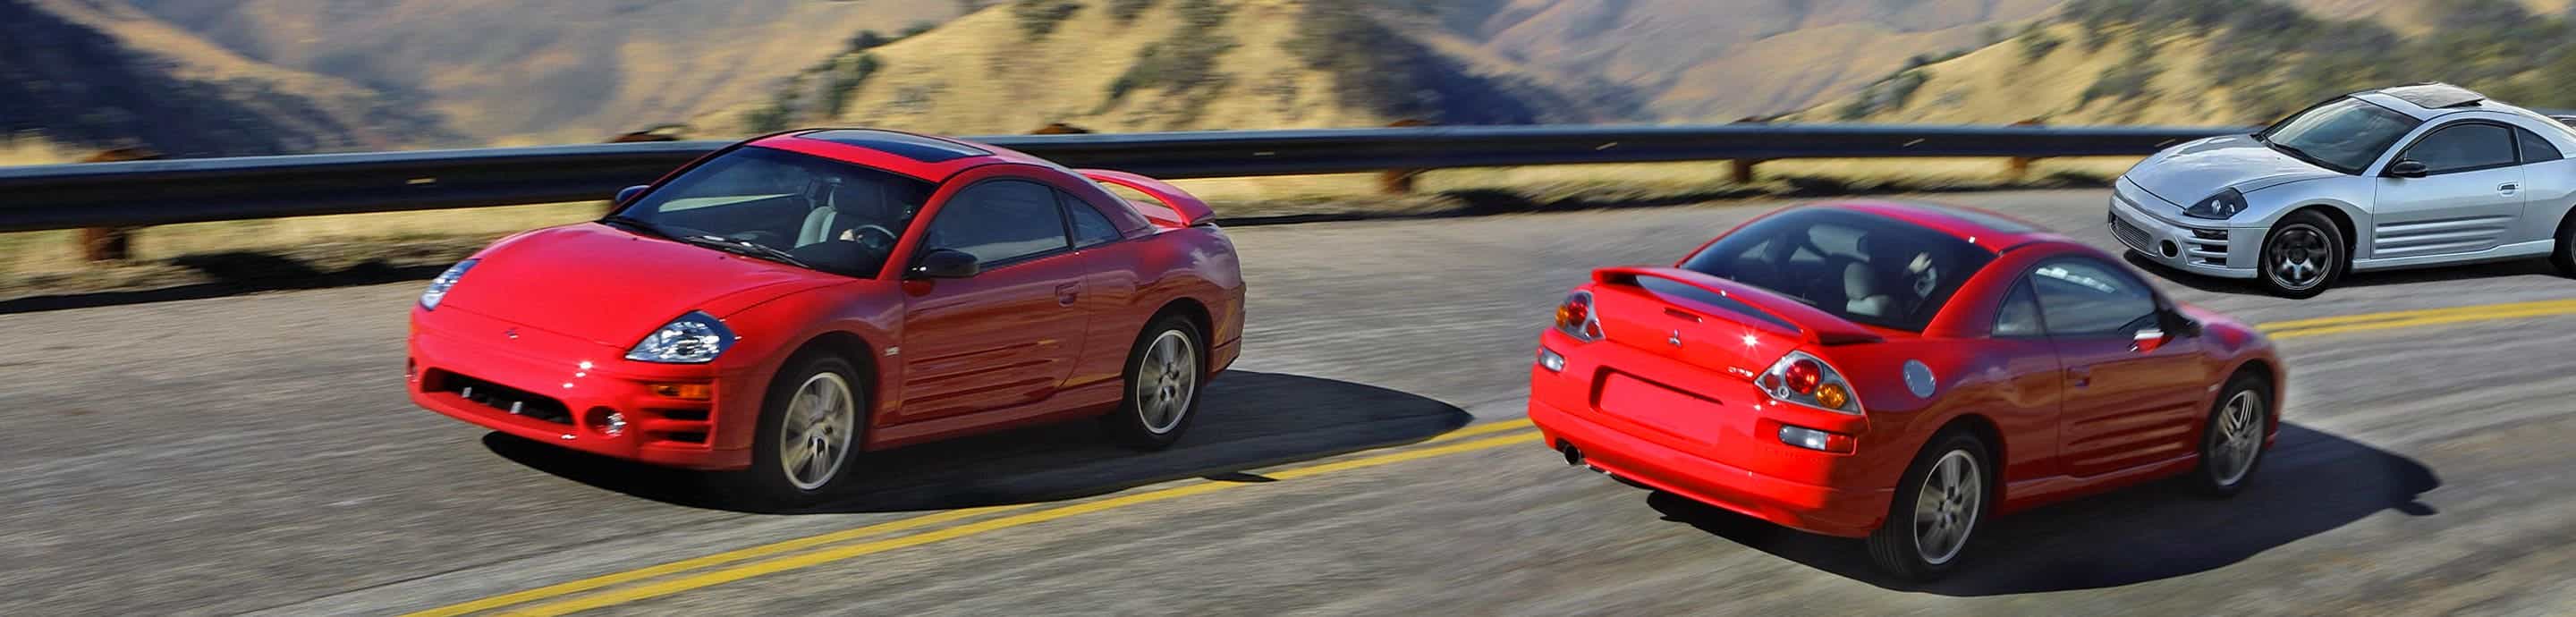

This thread was started back in 10/2008 as another "look at my 3G thread" and has now grown into a detailed account of the most amazing build in 3G history. The build started with a simple goal of 500WHP using a 6G74 engine built by my twin shark PharmEcis of UCS Performance. The 6G74 engine he built is the strongest built 6G74 evidenced by the internals, heads and because it was bored to increase displacement from 3.5L to 3.7L. Then in 1/2010 while V6 5 speed AWD talk started to get serious I decided to step up and take on the task of doing the AWD conversion possibly resulting in being the first 3G to achieve it. Then in 7/2011 to quote my friend, the late great silverside "I decided to go all out and cram a 3.8 (MIVEC) 6G75 into it"  . The end result will be a 5 speed AWD 3G Spyder powered by a built MIVEC 6G75 turbocharged engine. This build required a lot of dedication, patience and money on my part and this thread will chronicle all the ups and downs this car went through to achieve something that has never been achieved before and maybe never achieved again. Thanks for reading, enjoy.
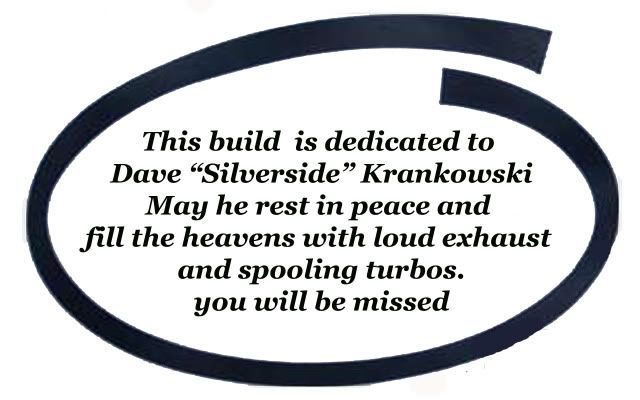
Page 1: The "silverside" dedication, modification list.
Page 2: The official beginning of the build where PharmEcis first posts in it showing pictures of a piston and rod. Also pics of the car with the 3.0L removed, the black EVO VIII wheels, Brembo calipers and rotors, air to water intercooler kit, the 3.7L motor out and in the engine bay.
Page 3: Pics of the Project Mu rear rotors, front valve cover, new front bumper, Club3G decals, the motor being assembled. Early non-serious AWD conversion talk.
Page 4: More early non-serious AWD conversion talk. PharmEcis first starts the car. Pics of the stainless steel brake lines, diamond plate floormats. PharmEcis posts the 1st compression test numbers and I go pick up the car to break the motor in naturally aspirated.
Page 5: Breaking in of the motor with a list of SES codes. Pics of the motor during the break-in period, front EVO VIII wheels with Brembos on, interior with gauges and in-dash stereo system, oil filter adapter with oil pressure and oil temp sending units, 1st oil change, debadging of the car.
Page 6: An explanation of "boring an engine" and why PharmEcis decided on using a 65mm throttle body. Pics of the installation of the upgraded shifter bushings and how my headunit plays video while I'm driving setup.
Page 8: The AWD conversion officially begins with pics of the EVO VIII Non-ACD transfercase (Phase 1) and related AWD info.
Page 9: AWD conversion Phase 2 with pics of the EVO VIII bellhousing and more related AWD talk. Pics of the O2 simulators needed to pass emissions inspection.
Page 10: AWD conversion Phase 3 with pics of the 2G GSX auto tranny rear end then going to PharmEcis' shop to deliver all 3 phases to him. Pics of the Borg Warner S366 turbocharger. Prices I paid for all 3 phases of the AWD conversion.
Page 11: Pics of the EVO VIII passenger side axle. PharmEcis and I find out that the motor is consuming oil and it will need to be taken out and torn apart to figure out and fix the problem.
Page 12: Explanation of Stroking vs. Boring.
Page 13: Pics of the rear end from the donor 2G GSX and the O2 simulators installed.
Page 14: Pics of the car at PharmEcis' shop where the diagnosis of the motor begins. PharmEcis figures out the problem.
Page 15: Pics of the Sparco Monza seats.
Page 16: PharmEcis gets the engine problem squared away and I begin to find the machinist to make the custom belhousing for the AWD conversion.
Page 17: Pics of the pieces need for the machinist to make the custom bellhousing and pics of the motor being re-assembled.
Page 18: PharmEcis gets the engine running again.
Page 19: PharmEcis talks about making the custom subframe and how silverside helped with editing of the ROM so the car could pass emissions inspection. The car passes emissions inspection. Pics of the billet front grill installed along with the Club3G decals.
Page 20: The machinist informs me the custom bellhousing is done and I go pick it up.
Page 21: PharmEcis and I enter a business partnership to sell V6 AWD conversion kits.
Page 24: This same table of contents with current status in big yellow letters. Pics of the AEM Digital Gauges.
Page 25: Pics of the Tearstone Billet Aluminum 4 Piece Fluid Cap set, SC-Customs V2 Shift Knob and custom aluminum radiator brackets, Youtube video of me driving 04MOJOGT's 1st 3G, pic of the EVO IX steering wheel.
Page 27: Video and pics of the Advan RS 18x8 +37 gunmetal color wheels.
Page 28: Pics of the aluminum wheel spacers for the fronts.
Page 29: The car goes to Greg's new shop for the 1st time :woot: to swap the 6G74 out for a non-MIVEC 6G75. This was the last day of the 6G74, bye! :wavey:
Page 30: Pics of the car getting prepped for Greg to do his work. The Autobot badges are removed along with most of the interior pieces.
Page 31: I announce I've upgraded and bought Greg's 6G75 MIVEC motor :woot::woot:
As of this post and until I or PharmEcis post anything different the status of this build is PharmEcis is working on the custom front subframe. Once that is done and has proven to be successful then the rest of the drivetrain will be assembled to make the V6 5 speed AWD conversion a complete success. After that then the turbo parts will be added then the tuning will be done. For more information on the AWD conversion read this thread: http://www.club3g.com/forum/3g-eclipse-gt-gts-specific/130433-gt-gts-awd-conversion-thread.html
![Image]()
![Image]()
David "silverside" Krankowski never saw this car in person, but he played a vital part in the process of getting this build done. With his knowledge of ECU's silverside helped PharmEcis get this car to pass North Carolina emissions in April 2010. Once that inspection was done it cleared the way for everything else to take place to make this the GREATEST 3G to ever see the streets. He is the first and so far only person in the world to put a 3.8L 6G75 MIVEC engine which the 4G eclipse uses into a 3G. On May 2, 2010 by chance I met David at the College Park, MD meet. He recognized me from pictures of me throughtout this thread and we hit it off immediately. He repaired my GSX later on that afternoon which enabled me to get back home that night. His knowledge, kindness and sense of humor will forever be in my memory and will forever be missed. He wanted to see this car completed and he will. R.I.P. David. I love you and thank you.
![Image]()
12-6-89 --5-4-10--------------------------------------------------------------------------------------------------------------------------------------------------
ENGINE
FORCED INDUCTION
ENGINE MANAGEMENT AND GAUGES
FUEL MANAGEMENT
DRIVETRAIN/TRANSMISSION
SUSPENSION
AUDIO, ELECTRONICS, ENGINE BAY DRESS UP
INTERIOR
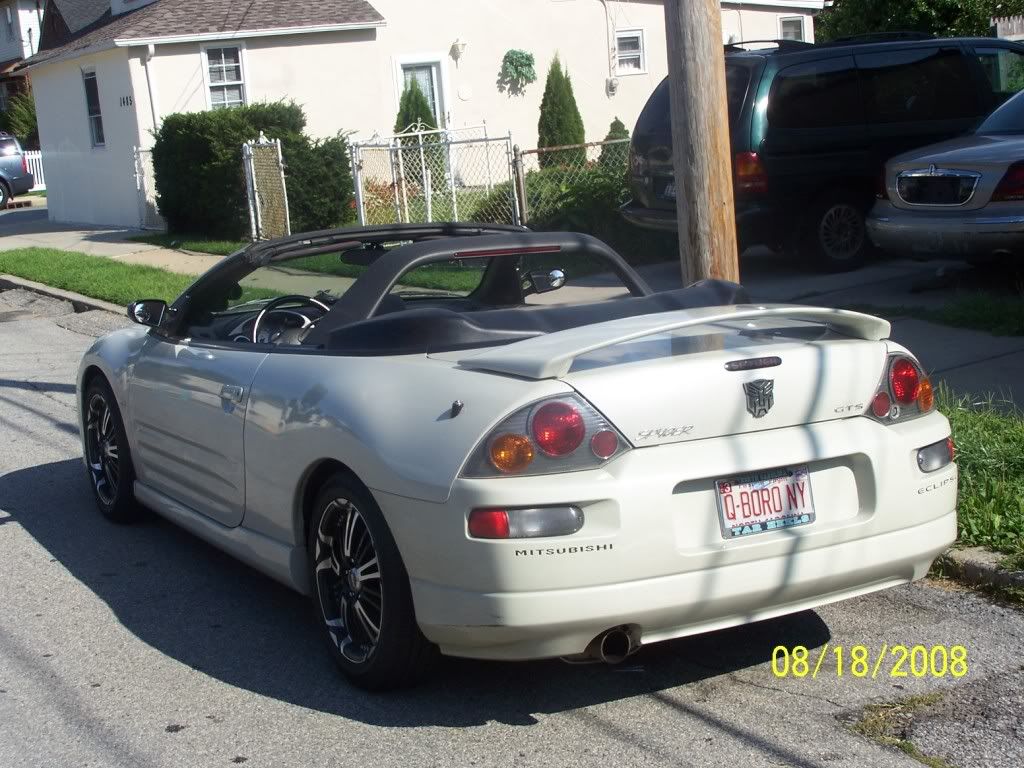
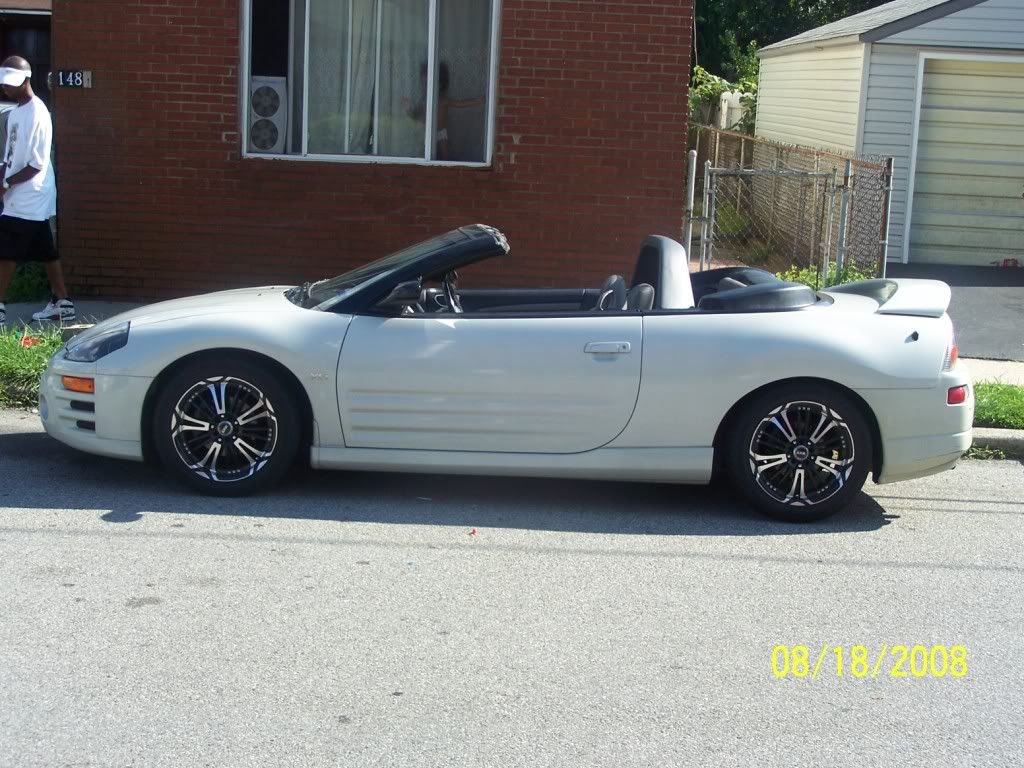
EXTERIOR
A JOURNAL OF THE BUILDING OF MY 3G INTO A TURBOCHARGED 6G75 MIVEC 5 SPEED AWD MACHINE BEING BUILT BY PharmEcis, ARGUABLY THE FASTEST 3G TO DATE.
I apologize if the pics are too big. I just figured this photobucket thing out. Hope you enjoy the pics.
![Image]()
![Image]()
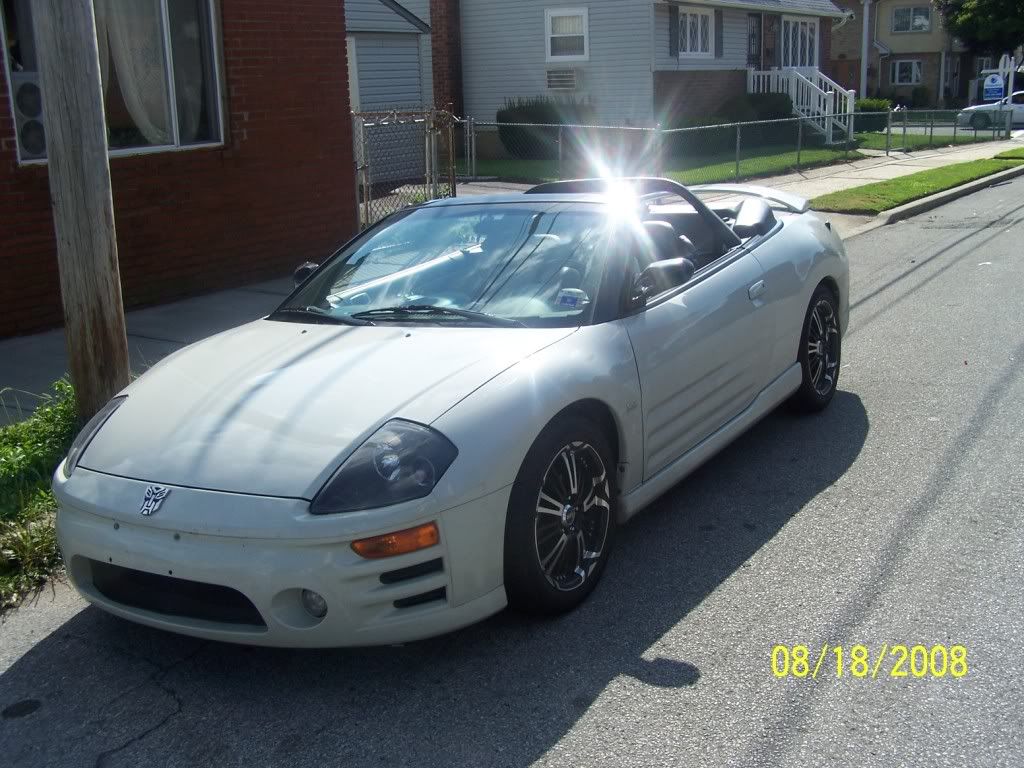
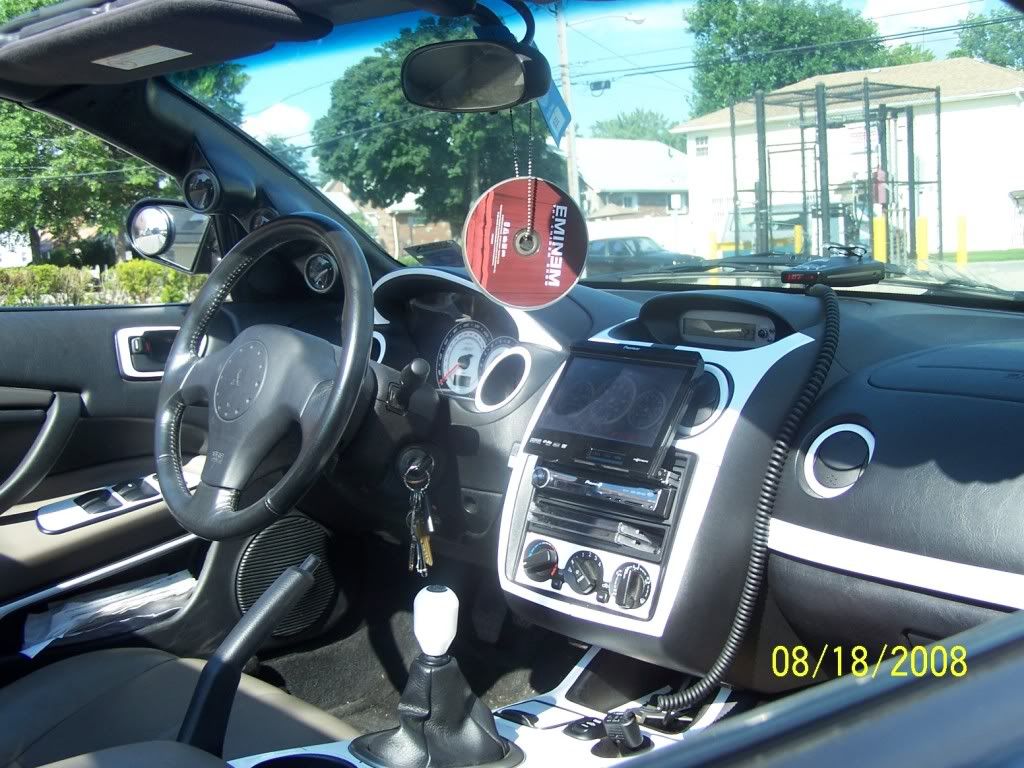
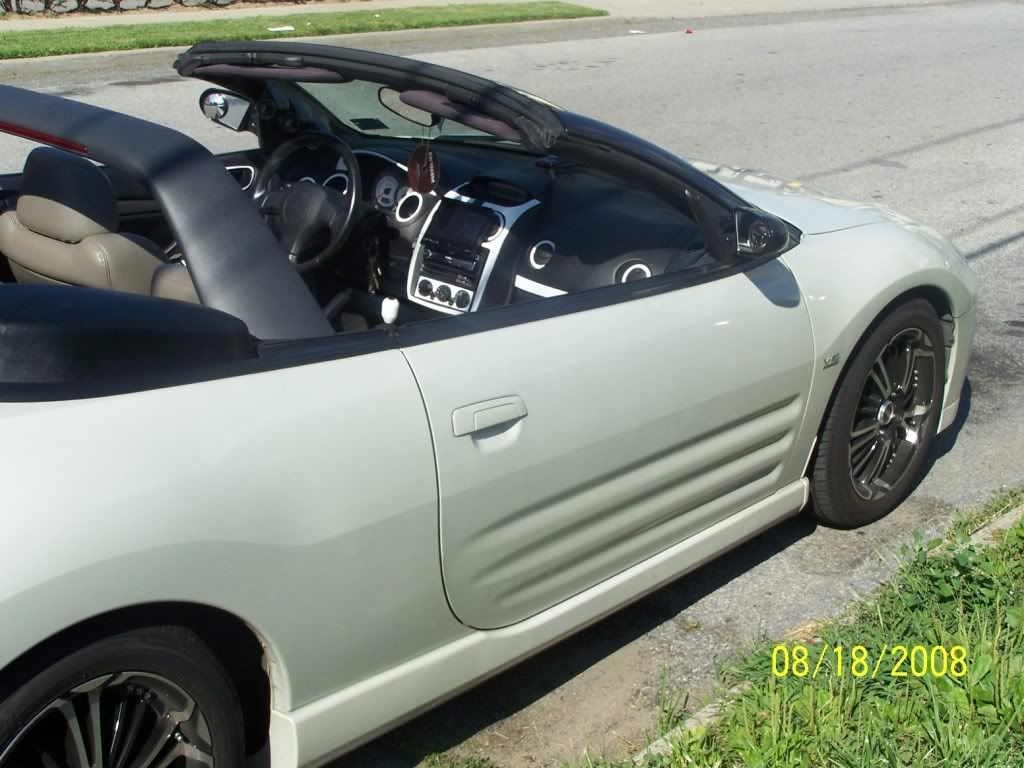
The interior. Glowshift gauges, instrument cluster gauge, autobot shift knob, pioneer avic-n4, escort passport 9500i radar detector, white trim kit.
![Image]()
![Image]()
![Image]()
![Image]()
A preview of where the tach/shift light will go. The fiberglass will be painted black and smoothed to look like part of the dash.
. The end result will be a 5 speed AWD 3G Spyder powered by a built MIVEC 6G75 turbocharged engine. This build required a lot of dedication, patience and money on my part and this thread will chronicle all the ups and downs this car went through to achieve something that has never been achieved before and maybe never achieved again. Thanks for reading, enjoy. Table Of Contents
Page 1: The "silverside" dedication, modification list.
Page 2: The official beginning of the build where PharmEcis first posts in it showing pictures of a piston and rod. Also pics of the car with the 3.0L removed, the black EVO VIII wheels, Brembo calipers and rotors, air to water intercooler kit, the 3.7L motor out and in the engine bay.
Page 3: Pics of the Project Mu rear rotors, front valve cover, new front bumper, Club3G decals, the motor being assembled. Early non-serious AWD conversion talk.
Page 4: More early non-serious AWD conversion talk. PharmEcis first starts the car. Pics of the stainless steel brake lines, diamond plate floormats. PharmEcis posts the 1st compression test numbers and I go pick up the car to break the motor in naturally aspirated.
Page 5: Breaking in of the motor with a list of SES codes. Pics of the motor during the break-in period, front EVO VIII wheels with Brembos on, interior with gauges and in-dash stereo system, oil filter adapter with oil pressure and oil temp sending units, 1st oil change, debadging of the car.
Page 6: An explanation of "boring an engine" and why PharmEcis decided on using a 65mm throttle body. Pics of the installation of the upgraded shifter bushings and how my headunit plays video while I'm driving setup.
Page 8: The AWD conversion officially begins with pics of the EVO VIII Non-ACD transfercase (Phase 1) and related AWD info.
Page 9: AWD conversion Phase 2 with pics of the EVO VIII bellhousing and more related AWD talk. Pics of the O2 simulators needed to pass emissions inspection.
Page 10: AWD conversion Phase 3 with pics of the 2G GSX auto tranny rear end then going to PharmEcis' shop to deliver all 3 phases to him. Pics of the Borg Warner S366 turbocharger. Prices I paid for all 3 phases of the AWD conversion.
Page 11: Pics of the EVO VIII passenger side axle. PharmEcis and I find out that the motor is consuming oil and it will need to be taken out and torn apart to figure out and fix the problem.
Page 12: Explanation of Stroking vs. Boring.
Page 13: Pics of the rear end from the donor 2G GSX and the O2 simulators installed.
Page 14: Pics of the car at PharmEcis' shop where the diagnosis of the motor begins. PharmEcis figures out the problem.
Page 15: Pics of the Sparco Monza seats.
Page 16: PharmEcis gets the engine problem squared away and I begin to find the machinist to make the custom belhousing for the AWD conversion.
Page 17: Pics of the pieces need for the machinist to make the custom bellhousing and pics of the motor being re-assembled.
Page 18: PharmEcis gets the engine running again.
Page 19: PharmEcis talks about making the custom subframe and how silverside helped with editing of the ROM so the car could pass emissions inspection. The car passes emissions inspection. Pics of the billet front grill installed along with the Club3G decals.
Page 20: The machinist informs me the custom bellhousing is done and I go pick it up.
Page 21: PharmEcis and I enter a business partnership to sell V6 AWD conversion kits.
Page 24: This same table of contents with current status in big yellow letters. Pics of the AEM Digital Gauges.
Page 25: Pics of the Tearstone Billet Aluminum 4 Piece Fluid Cap set, SC-Customs V2 Shift Knob and custom aluminum radiator brackets, Youtube video of me driving 04MOJOGT's 1st 3G, pic of the EVO IX steering wheel.
Page 27: Video and pics of the Advan RS 18x8 +37 gunmetal color wheels.
Page 28: Pics of the aluminum wheel spacers for the fronts.
Page 29: The car goes to Greg's new shop for the 1st time :woot: to swap the 6G74 out for a non-MIVEC 6G75. This was the last day of the 6G74, bye! :wavey:
Page 30: Pics of the car getting prepped for Greg to do his work. The Autobot badges are removed along with most of the interior pieces.
Page 31: I announce I've upgraded and bought Greg's 6G75 MIVEC motor :woot::woot:
As of this post and until I or PharmEcis post anything different the status of this build is PharmEcis is working on the custom front subframe. Once that is done and has proven to be successful then the rest of the drivetrain will be assembled to make the V6 5 speed AWD conversion a complete success. After that then the turbo parts will be added then the tuning will be done. For more information on the AWD conversion read this thread: http://www.club3g.com/forum/3g-eclipse-gt-gts-specific/130433-gt-gts-awd-conversion-thread.html


12-6-89 --5-4-10
As of 8/18/11
MODIFICATIONS
MODIFICATIONS
ENGINE
MIVEC 6G75 engine
Custom forged Rods with ARP2000 Hardware
ARP2000 Head Stud kit
ARP2000 Main Stud kit
O-Ringing of the block
More engine upgrades to be determined
FORCED INDUCTION
Borg Warner S366 Turbocharger
UCS Performance Tubular Exhaust Manifolds
UCS Perforance Custom Stainless Steel Y-Pipe and downpipe
Custom Air to Water Intercooler kit
Tial Q Blow Off Valve
Greddy Evo 2 exhaust
ENGINE MANAGEMENT AND GAUGES
Custom AEM EMS made by PharmEcis of UCS Performance
AEM Digital Gauges (Air/Fuel Ratio, Boost, Fuel Pressure, Oil Pressure, Water Temperature)
Grimmspeed Electronic Boost Control Solenoid
FUEL MANAGEMENT
550cc High Impedance Injectors
Fuel Labs Fuel Pressure Regulator
UCS Performance custom fuel rail
Fuel Rail Loop Upgrade
AN Adapters and Stainless Braided Lines
Aeromotive 340 Stealth Fuel Pump
NGK Copper 1 Degree Colder Spark Plugs
DRIVETRAIN/TRANSMISSION
AWD conversion: Custom EVO VIII bellhousing, Custom front subframe, EVO VIII non-ACD transfercase, EVO VIII passenger side axle, 2G Eclipse GSX automatic tranny rear end
Fidanza lightweight flywheel
South Bend Custom Clutch
Prothane High Performance Urethane Motor Mount Kit
UCS Performance tranny shifter bushings
Energy Suspension Polyurethane shifter stabilizer bushings
B&M Short Shifter
SUSPENSION
Eibach Pro-Kit Springs on KYB GR-2 shocks & struts (upgrading to KW V3 Coilovers)
Advan RS 18x8 +37 dark gunmetallic wheels
Custom 6.5mm wheel spacers for the fronts
Front and Rear Brembo EVO VIII Calipers with Brembo front rotors
Project Mu SCR rear EVO VIII rotors
Goodridge G-Stop Stainless Steel Brake lines
AUDIO, ELECTRONICS, ENGINE BAY DRESS UP
Pioneer AVIC N5
Escort Passport 9500i Radar Detector
Quicklift Redline Tuning Hood struts
Tearstone Billet Aluminum Fluid Cap 4 Piece Set
Custom Aluminum Radiator Brackets
INTERIOR
EVO IX steering wheel
Angel Instrument Gauges
Glowshift Black Triple Gauge Pod
SC-Customs V2 Shift Knob
Diamond Plated floormats with Mitsu symbol
Aftermarket black front racing seats (brand to be decided)
Black OEM rear leather seats
CDC lightbar
EXTERIOR
Billet front grill
Ebay Sonar Projector Headlights (upgrade coming soon)
Ebay Smoked front corners
Yellow film over the foglights
Custom Niteshaded Tail & Reverse lights
Alloy Fuel Door
Debadged the V6 24Valve, Spyder and GTS emblems
Club3G decals
MORE MODS TO COME
--------------------------------------------------------------------------------------------------------------------------------------------------A JOURNAL OF THE BUILDING OF MY 3G INTO A TURBOCHARGED 6G75 MIVEC 5 SPEED AWD MACHINE BEING BUILT BY PharmEcis, ARGUABLY THE FASTEST 3G TO DATE.
I apologize if the pics are too big. I just figured this photobucket thing out. Hope you enjoy the pics.
The interior. Glowshift gauges, instrument cluster gauge, autobot shift knob, pioneer avic-n4, escort passport 9500i radar detector, white trim kit.
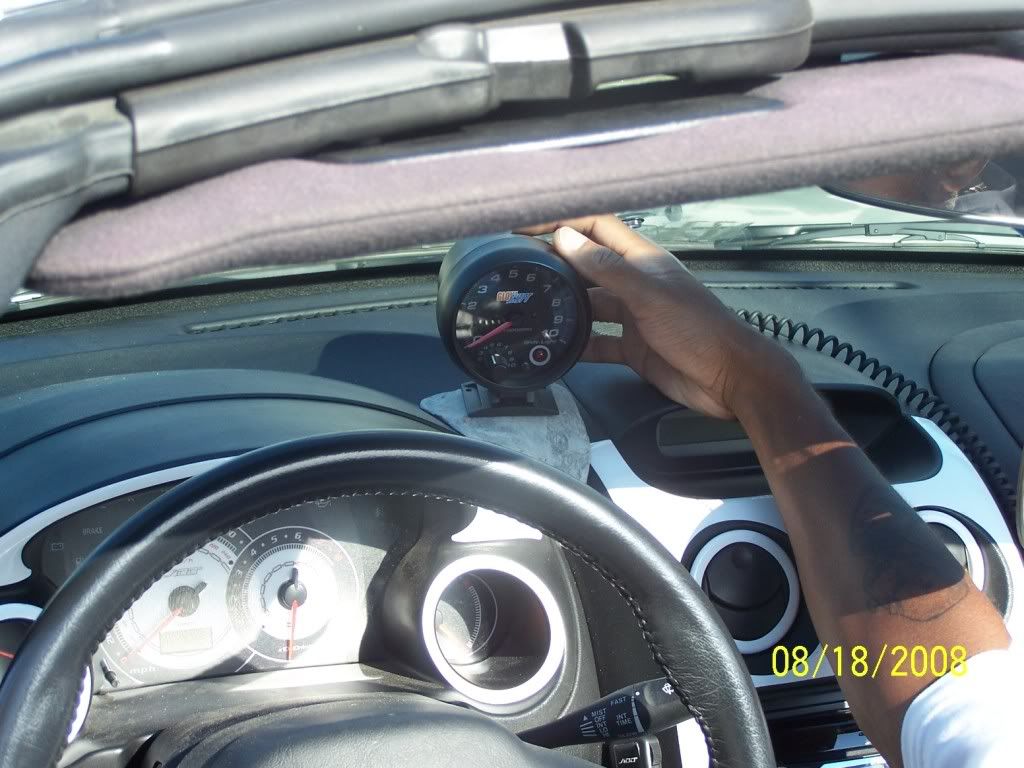
A preview of where the tach/shift light will go. The fiberglass will be painted black and smoothed to look like part of the dash.