
So yesterday I was curious and ran down the the local Pick-n-Pull and found a gem. The website didn't list any Diamante's on the lot, but the website lied lol. I found a 99 Diamante with a sparkling intake manifold shining in the sunlight. I dropped my tool bag and got to work. Pulled it off in about 25-30 minutes and I had my manifold and off I was.
Payed $29.99 for the manifold, and it was in perfect condition. Took it home, put a heat resistant paint on it and started tearing my manifold apart. I read every single word on this sites 'How To' and 'Question' threads, and found out what I needed. After wrestling with it for an hour or so I pulled my stock mani off. But by then it was dark, so the next morning got up around 8 and started to get everything fabbed up for the build.
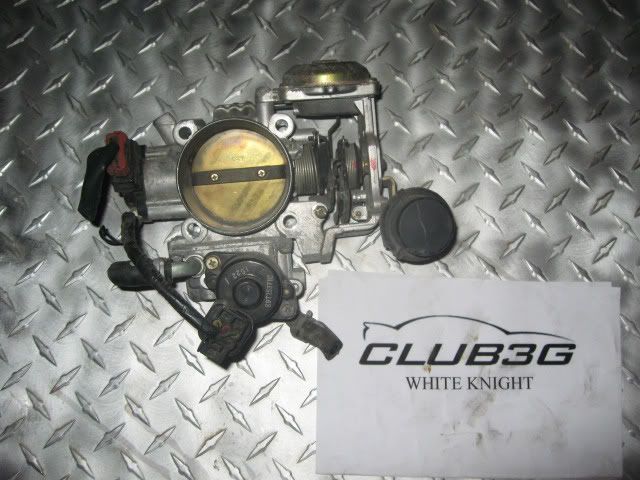
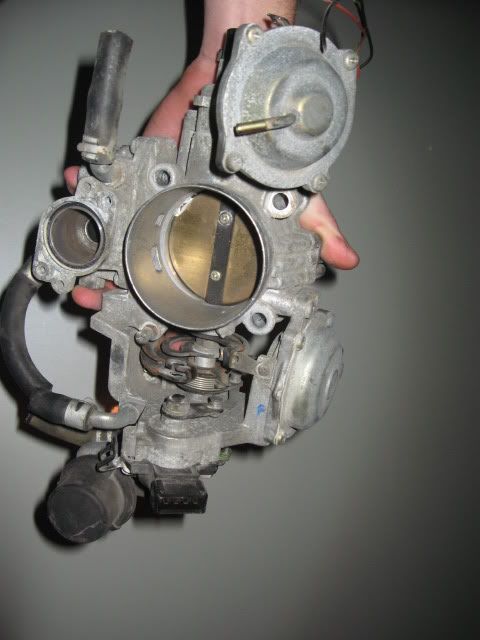
The only things different I did were the following; I did not replace the TB coolant line on the bottom of the TB, it is kinked but not enough to build up pressure or stop flow completely. My ERG devil tube was about the hardest thing I came across, the bracket to the left of it was suppose to be removed but I broke my ratchet trying to get it to come loose, so I beat the shit out of it with a hammer(not recommended but was surprisingly effective :yesway: ) Then before i tried to wrestle the manifold in i finger tightened the two bolts on the the ERG tube. Then let the wrestling begin! I had to pry and get a pry bar to get the manifold to go over the bolts on the front of it.
After getting it over the bolts it had to be tapped a few times with a rubber hammer to get it to eventually fall into its final place. The right rear bracket that is the support for the old mani i just took out completely.
As far as removing all the metal vacuum hoses I haven't done that yet, I had to make several longer but for the most part i just zip tied them to the strut tower bar. After all of that the last thing that needed attention was the throttle cable, and its new position, I tried a few things with the supplied bracket, but ended up just taking the bracket completely off and bolting it strait back onto the manifold bolt holes.
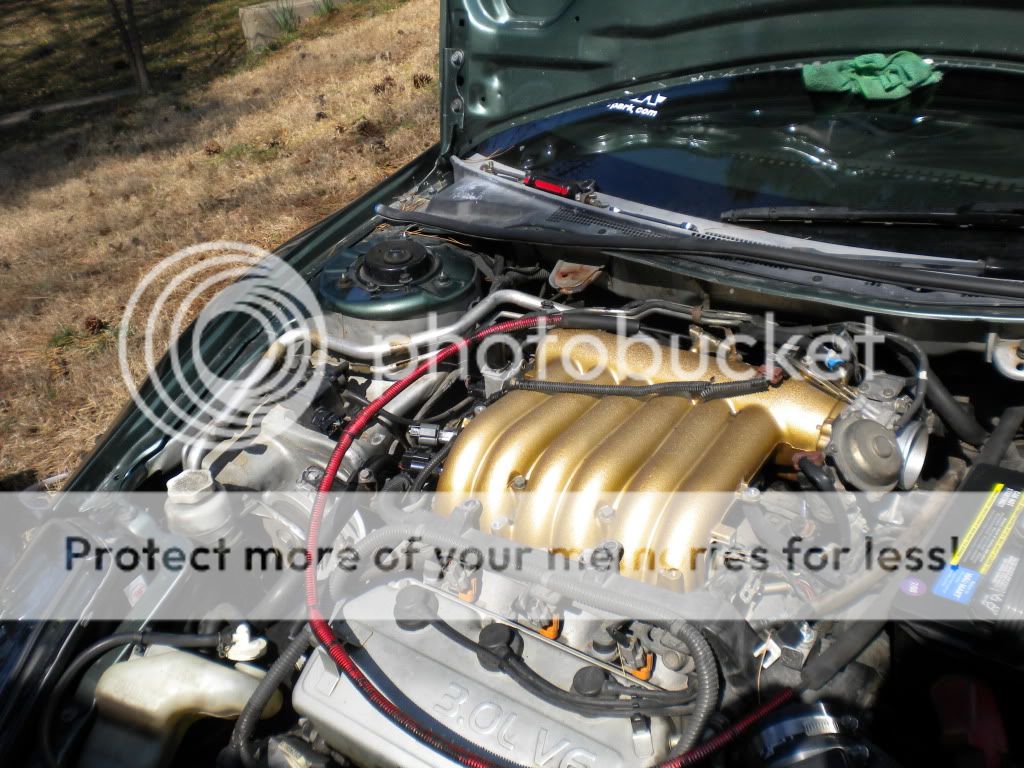
After triple checking all of my wires and vacuum hoses, my Injen CAI fit just fine back in, the batter just needed to be scooted over about 1/2" or so.
Started it up, let it idle for 10 minutes or so, the idle never spiked! It was very steady at 800-850rpm(checked constantly via SAFC II.) Took it for a test drive to the autoparts store(Figure that was a safe enough location to head towards") ). Everything was perfect. Then I decided to take to the interstate to give it a quick shake down run, it ran beautifully! Got home and gave it one more inspection, everything was great.
). Everything was perfect. Then I decided to take to the interstate to give it a quick shake down run, it ran beautifully! Got home and gave it one more inspection, everything was great.
![Image]()
![Image]()
![Image]()
On Performance: The car actually did have a very noticeable HP/TQ gain at 2300-4000 RPMs, but after that it settled back down. When driving around I noticed letting it coast while in gear, it seemed to hold the RPMs a lot longer than it use too, it may have been just my imagination however. But the performance gain wasn't, you could definitely feel it.
On Sound: The sound that the engine makes as its going through the RPM range is amazing, when sitting around revving, it almost mimics the whistle of a BOV. When driving around city streets, you can tell a different note coming from the engine bay, and the muffler as well(Invidia Cat-back.)
Overall Impression: I really enjoy the benefits this gave me, my current mods list is Invidia catback, Injen CAI, SAFC II(un-tuned). But idk if I would do it again, it was very hard for me to actually get everything lined up and bolted properly. I have a pretty good mechanical background, but haven't done much like this in the past. If you are just thinking, hey i can do that too, its not that easy. If you have every single tool, or have readily available all the tools you need, then it may be easier for you. It sucked trying to get it all taken care of and not break a bolt out, or round off anything. My hands are torn to hell, and i may need a chiropractor..lol. But if you have the tools, and knowhow you can def do it.
I do plan on FI'ing my 3g in the next couple of months, but till then it will just be something neat to look at.
If you have any questions you can ask me, I'll try to help to the best as i can, I'm like alot of you and have no damn clue what a ERG solenoid or valve is, nor does. But I know where shit is, and where it plugs back into!
Donor car: Mitsubishi Diamante '99
My Car: 2001 Mitsubishi Eclipse GT
*Result not typical, ask your doctor before attempting if you've had any history of fucking up cars. :agreed:
Payed $29.99 for the manifold, and it was in perfect condition. Took it home, put a heat resistant paint on it and started tearing my manifold apart. I read every single word on this sites 'How To' and 'Question' threads, and found out what I needed. After wrestling with it for an hour or so I pulled my stock mani off. But by then it was dark, so the next morning got up around 8 and started to get everything fabbed up for the build.
The only things different I did were the following; I did not replace the TB coolant line on the bottom of the TB, it is kinked but not enough to build up pressure or stop flow completely. My ERG devil tube was about the hardest thing I came across, the bracket to the left of it was suppose to be removed but I broke my ratchet trying to get it to come loose, so I beat the shit out of it with a hammer(not recommended but was surprisingly effective :yesway: ) Then before i tried to wrestle the manifold in i finger tightened the two bolts on the the ERG tube. Then let the wrestling begin! I had to pry and get a pry bar to get the manifold to go over the bolts on the front of it.
After getting it over the bolts it had to be tapped a few times with a rubber hammer to get it to eventually fall into its final place. The right rear bracket that is the support for the old mani i just took out completely.
As far as removing all the metal vacuum hoses I haven't done that yet, I had to make several longer but for the most part i just zip tied them to the strut tower bar. After all of that the last thing that needed attention was the throttle cable, and its new position, I tried a few things with the supplied bracket, but ended up just taking the bracket completely off and bolting it strait back onto the manifold bolt holes.
After triple checking all of my wires and vacuum hoses, my Injen CAI fit just fine back in, the batter just needed to be scooted over about 1/2" or so.
Started it up, let it idle for 10 minutes or so, the idle never spiked! It was very steady at 800-850rpm(checked constantly via SAFC II.) Took it for a test drive to the autoparts store(Figure that was a safe enough location to head towards
). Everything was perfect. Then I decided to take to the interstate to give it a quick shake down run, it ran beautifully! Got home and gave it one more inspection, everything was great. 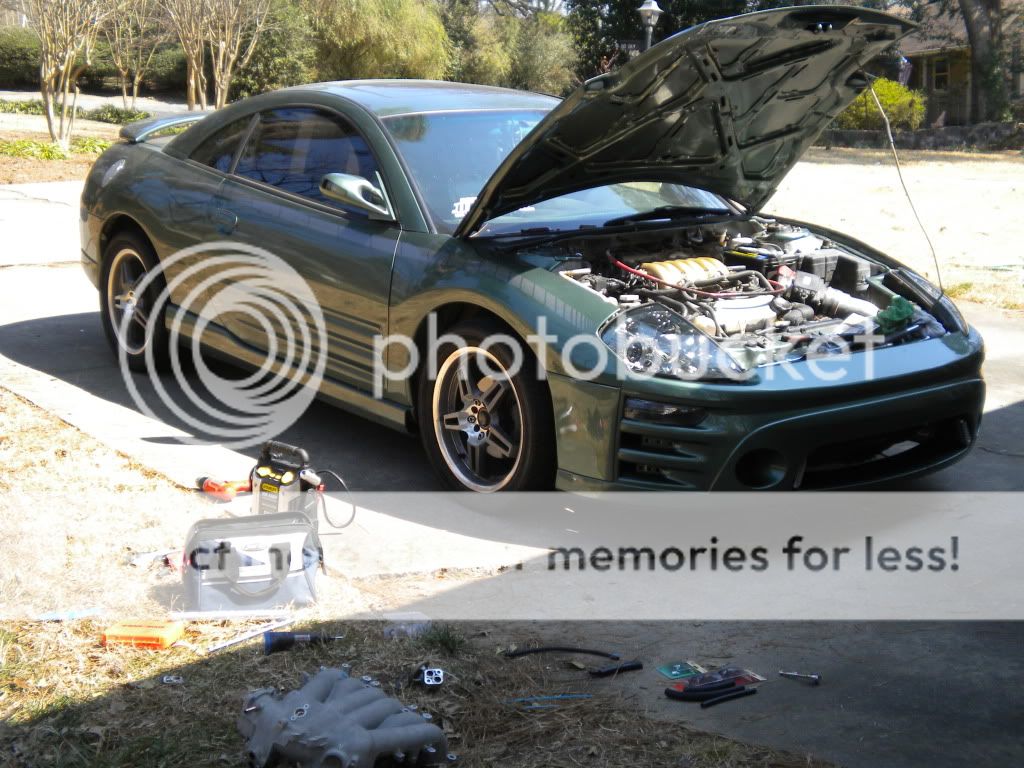

On Performance: The car actually did have a very noticeable HP/TQ gain at 2300-4000 RPMs, but after that it settled back down. When driving around I noticed letting it coast while in gear, it seemed to hold the RPMs a lot longer than it use too, it may have been just my imagination however. But the performance gain wasn't, you could definitely feel it.
On Sound: The sound that the engine makes as its going through the RPM range is amazing, when sitting around revving, it almost mimics the whistle of a BOV. When driving around city streets, you can tell a different note coming from the engine bay, and the muffler as well(Invidia Cat-back.)
Overall Impression: I really enjoy the benefits this gave me, my current mods list is Invidia catback, Injen CAI, SAFC II(un-tuned). But idk if I would do it again, it was very hard for me to actually get everything lined up and bolted properly. I have a pretty good mechanical background, but haven't done much like this in the past. If you are just thinking, hey i can do that too, its not that easy. If you have every single tool, or have readily available all the tools you need, then it may be easier for you. It sucked trying to get it all taken care of and not break a bolt out, or round off anything. My hands are torn to hell, and i may need a chiropractor..lol. But if you have the tools, and knowhow you can def do it.
I do plan on FI'ing my 3g in the next couple of months, but till then it will just be something neat to look at.
If you have any questions you can ask me, I'll try to help to the best as i can, I'm like alot of you and have no damn clue what a ERG solenoid or valve is, nor does. But I know where shit is, and where it plugs back into!
Donor car: Mitsubishi Diamante '99
My Car: 2001 Mitsubishi Eclipse GT
*Result not typical, ask your doctor before attempting if you've had any history of fucking up cars. :agreed: